Walkthrough: Optimal Environment Setup for DJI Mavic Pro Compass Calibration– A Look Into The Intricacies Of …
 androfyi
August 10, 2026
4 min read
172 views
androfyi
August 10, 2026
4 min read
172 views
Spatial and environmental factors dictate the success of this calibration routine more than any software toggle. I have observed that electromagnetic interference from rebar-laced concrete, hidden power lines, and even metallic beach sand can completely invalidate the process, leaving your Mavic Pro flying on corrupted spatial data. Below, we map out the exact environmental parameters required to ensure your compass actually knows which way is north.
Pre-flight Checklist
- Battery Level: Ensure a minimum 50% charge. A sudden power drop during the sensor mapping phase corrupts the calibration entirely.
- Surface Composition: Exclusively use grass or dirt. Concrete and asphalt often contain hidden rebar that acts as a magnetic anomaly, ruining your baseline.
- Personal Metal Purge: Remove watches, rings, and metallic accessories. These items are held near the aircraft during rotation and skew the magnetometer.
- Accessory Integration: Power up the Mavic with all third-party accessories attached, such as GPS trackers, so the system accounts for their magnetic footprint during mapping.
- System Sync: Wait for the Mavic to achieve full “ready to fly” status before initiating any sensor adjustments.
Phase One Execution
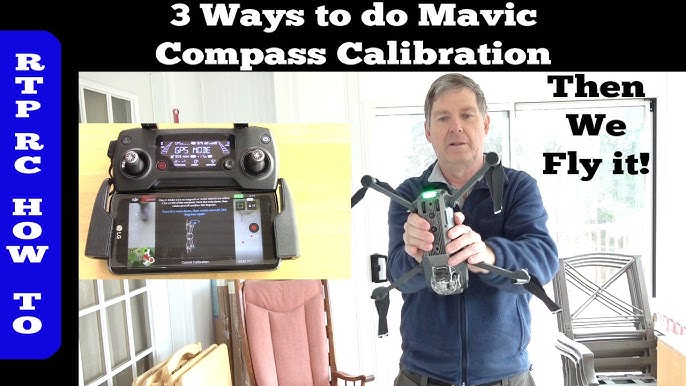
Initiate the routine by powering up the aircraft. Navigate to the “Aircraft Status” section in DJI GO. If the “Calibrate” button is absent from the primary interface, locate it under “Advanced Settings.” Once triggered, observe the rear arm lights. A solid yellow illumination indicates the system is actively sampling the magnetic field.
Step 2: Dynamic Execution Metrics
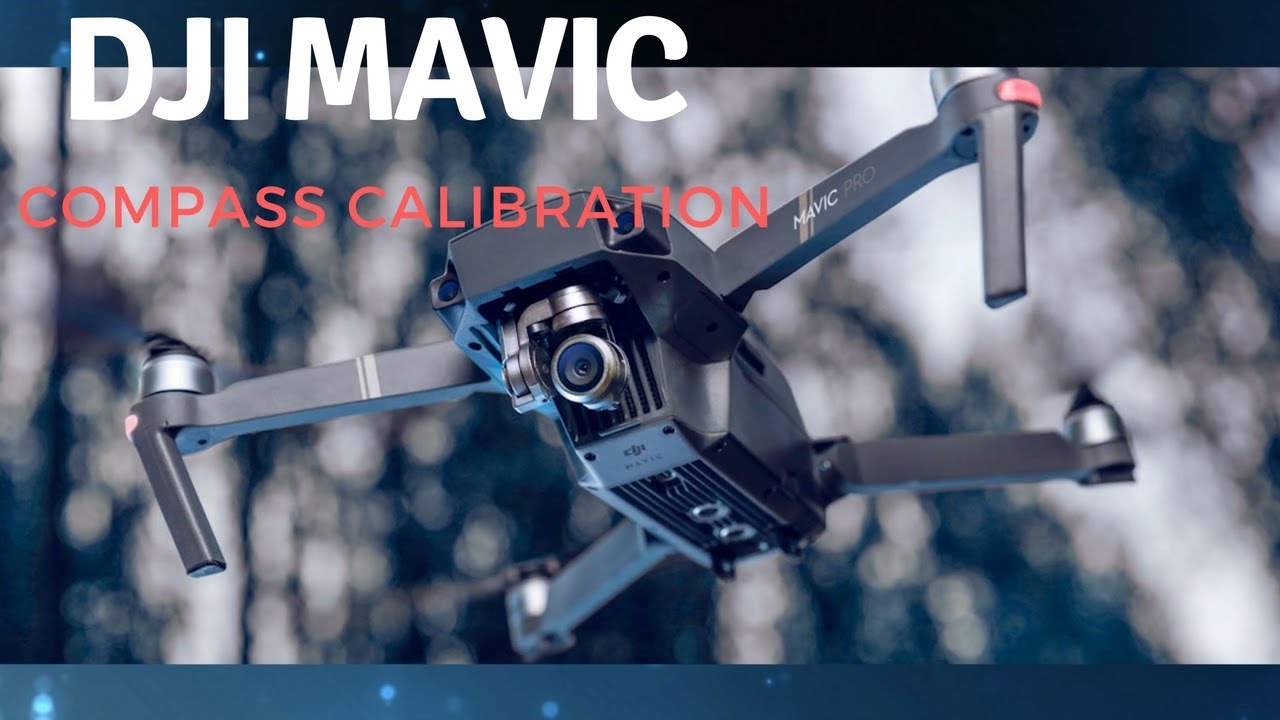
Pick up the Mavic. You must rotate it smoothly and steadily a full 360 degrees – slightly more if possible – around the horizontal axis. Abrupt movements or jerky stops will force the algorithm to discard the data. Watch the rear arm lights; they will transition from solid yellow to solid green upon successful completion. For DJI Fly or newer controller interfaces (RC Pro 2 / RC 2), the controller calibration requires tracing an “8-figure” path rather than rotating the aircraft, though the environmental prerequisites remain identical.
Step 3: Post-Execution Safety Loop
A critical flaw in DJI’s UI design: the absence of a compass error does not mean the compass is properly calibrated. It merely means the data is plausible. If the Mavic is placed near a strong magnetic field, it will flash red and yellow lights, triggering a compass error in the app. If it doesn’t flash red, it might still be catastrophically wrong.
Real-world friction points abound. The Mavic Pro suffers from terrible ground clearance, making soft sand a nightmare. Sand and water are absolute enemies of electronics. I have seen too many pilots try to launch from a car roof or a sewer lid; the magnetic interference guarantees a flyaway. If you crash or travel with the drone in a vehicle, recalibrate. If the drone flies erratically, recalibrate. Our team finds that moving between locations often necessitates recalibration – it takes roughly 10-15 seconds but saves your aircraft from an unplanned, unrecoverable descent. Keep Sport mode off until you understand the drastically increased top speeds and disabled obstacle avoidance, and always verify the compass before trusting the return-to-home function.
Tags: DJI Mavic Pro compass calibration, how to calibrate DJI compass, Mavic compass error fix, drone compass calibration near metal, DJI GO calibrate button missing, drone flight safety checklist, Mavic Pro sensor errors, drone magnetometer calibration, rebar concrete drone interference, DJI Fly compass calibration, DJI RC Pro 2 figure 8 calibration, drone crash recovery calibration, Mavic ground clearance issues, drone beach takeoff risks, IMU vs compass calibration