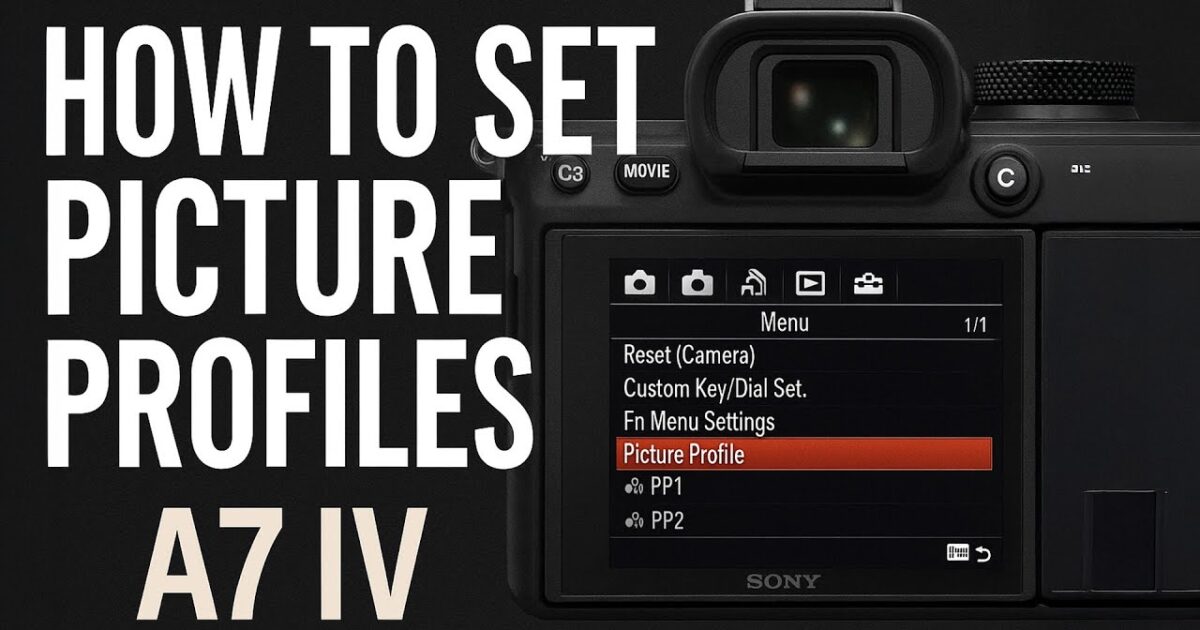
Walkthrough: Optimal Environment Setup for How to Set Picture Profiles on the Sony A7 IV (Full Guide for Beginners)
 androfyi
July 31, 2026
9 min read
202 views
androfyi
July 31, 2026
9 min read
202 views
Before touching a single menu item, understand this: Picture Profiles are not filters. They are mathematical containers that dictate how your sensor interprets light, color, and contrast. The environment you shoot in – mixed lighting, harsh sun, or a controlled studio – dictates which profile earns its place on your A7 IV. Nail the environment, and the profile does the heavy lifting. Ignore it, and you’re just stacking problems in post.
Pre-flight Checklist
- Battery Charge: Full. Menu diving drains power, and you do not want the camera dying mid-customization.
- Memory Card: Formatted and inserted. You will be shooting test clips. Lots of them.
- Monitor/External Display: Connected via HDMI if possible. Guessing at gamma curves on the A7 IV’s LCD is like mixing paint in the dark.
- Shooting Mode: Set to Movie mode. Picture Profiles are designed for video. Yes, you can use them for stills, but the camera’s architecture prioritizes motion here.
- Exposure Index (EI) Mode: Understand that if you select S-Log3, your base ISO shifts. On the A7 IV, S-Log3 locks you to ISO 800 for optimal dynamic range. Shooting at ISO 100 in S-Log3 is not “cleaner” – it is a highlight-clipping disaster.
The Unfiltered First Step
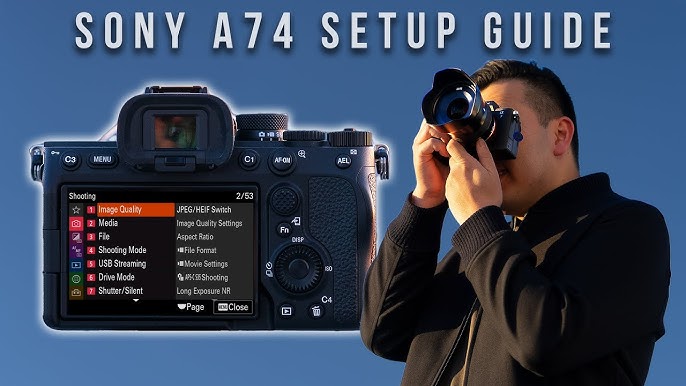
Here is where 90% of beginners get lost. Sony buries Picture Profiles in two locations, and one is infinitely faster than the other. The manual method is a labyrinth: MENU → (Exposure/Color) → [Color/Tone] → [Picture Profile] → select profile → press right on the control wheel → adjust values. That is five button presses before you even see a gamma curve.
The real-world method? Press the FN (Function) Button. This is the button on the back of the camera, right under your thumb. The Function Menu pops up on screen. Navigate to the Picture Profile icon. Click in. You are now staring at PP1 through PP11. No scrolling through tabbed menus. No existential dread.
Once inside, you are not just selecting a preset. You are entering a customization suite. Press right on the control wheel while a profile is highlighted, and you unlock the actual parameters: Gamma, Color Mode, Black Level, Knee, Detail, Saturation, Color Phase, and Color Depth. This is where the A7 IV stops being a point-and-shoot and starts being a cinema tool.
Step 2: Dynamic Execution Metrics
Let us break down what each profile actually does, stripped of Sony’s marketing language. I am going to give you the functional truth of PP1 through PP11.
- PP1 (Movie Gamma): Balanced. Safe. Boring. It is the camera saying “I don’t know what you want, so here is a decent image.” Good for run-and-gun where you have zero time to grade.
- PP2 (Still Gamma): Higher contrast than PP1. Punchy. Crushed blacks. Useful for direct-to-YouTube content where you want an aggressive look without touching sliders.
- PP3 / PP4 (ITU709 Gamma): Broadcast standard. Natural color tone. If you are delivering to a network or need accurate colors straight out of camera without grading, this is your lane.
- PP5 / PP6 (Cine1 / Cine2 Gamma): Soft cinematic roll-off. Gentle highlight handling. These are the “I want it to look filmic but I refuse to learn color grading” profiles. They work. They are underrated.
- PP7 (S-Log2 + S-Gamut): Legacy log curve. S-Log2 has a different shadow roll-off than S-Log3. Some DPs prefer it for skin tones. It is less common now, but it is there if you need it.
- PP8 (S-Log3 + S-Gamut3.Cine): The industry standard. Maximum dynamic range. S-Gamut3.Cine is the color space that matches cinema workflows. If you buy LUTs from third-party companies, 95% of them are built for this exact combination. This is the profile that makes the A7 IV worth its price tag.
- PP9 (S-Log3 + S-Gamut3): Similar to PP8 but uses the wider S-Gamut3 color space. The difference is subtle. PP8 is generally preferred because S-Gamut3.Cine maps more cleanly to DCI-P3 cinema standards.
- PP10 (HLG / HDR): Hybrid Log-Gamma. For HDR delivery. If you are not delivering to an HDR monitor or TV, skip this. It looks wrong on SDR screens without conversion.
- PP11 (S-Cinetone): The secret weapon. S-Cinetone gamma with S-Cinetone color mode. This is the profile Sony cinema line cameras use. It gives you a beautiful, filmic, out-of-camera look with natural skin tones and soft highlights. No grading required. For wedding videographers, event shooters, and anyone who needs to deliver fast, PP11 is the answer.
Now, the customization layer. Once you select a profile and press right, you can tweak individual parameters. Here is what actually matters:
- Black Level: Controls the darkest part of the image. Lower it for crushed blacks and a moody look. Raise it to preserve shadow detail. Be careful – raising it too high makes the image look washed out.
- Black Gamma: This is a shadow-specific contrast curve. It affects only the dark portions of the image. Use it to lift shadows without touching your midtones. Set the range to determine how deep into the shadows you want to influence, and adjust the level to lift or lower accordingly.
- Knee: Controls highlight roll-off. The Point setting (75% to 105%) determines where the knee activates. The Slope (-5 to +5) determines how aggressively highlights are compressed. For a soft, faded highlight roll-off, set Point between 75-80% and Slope to +1 or +2. This kills that harsh digital clipping and gives you a moody, filmic highlight transition.
- Color Mode: Must match your gamma. If you select S-Log3 gamma, pair it with S-Gamut3.Cine. If you select S-Cinetone gamma, pair it with S-Cinetone color mode. Mismatching these creates color science nightmares.
- Saturation: Global color vibrancy. Decrease for a desaturated, moody look. Increase for vivid, punchy colors.
- Color Phase: Shifts the entire color wheel. Subtle adjustments here can correct for weird lighting conditions or create stylized looks.
- Color Depth: Controls the saturation of individual color channels independently. This is where you fine-tune skin tones. For portraits, bring down reds and yellows slightly to lift their luma values – this brightens skin without blowing out highlights.
- Detail: Edge enhancement. Sony’s default Detail settings are aggressive and create ugly halos. Turn Detail down to -7 or off entirely for video. It is a crutch for small sensors, and the A7 IV does not need it.
Step 3: Post-Execution Safety Loop
You have set your profile. You have tweaked your gamma, knee, and color depth. Now you need to lock this in before you lose it. The A7 IV has a feature most beginners ignore: Camera Set Memory. On the mode dial, you see 1, 2, and 3. These are not just recall modes – they are full configuration saves.
Here is how to use them. Set up your camera exactly how you want it: frame rate, aperture, ISO, and your custom Picture Profile. Then go to MENU → first tab → Shooting Mode → Camera Set Memory. Pick one of the three slots. Now, when you rotate the dial to that number, your entire configuration snaps into place. This is how you switch between a “S-Log3 interview setup” and an “S-Cinetone run-and-gun setup” in under a second.
But there is a safety loop you need to close. After configuring your profiles, shoot a test clip. Not a still image – a clip. Move the camera. Change the lighting. Check your highlights. Check your shadows. Import that clip into your editing software. Apply your LUT if you are using S-Log3. Does the image fall apart? Are the skin tones green? Are the highlights blown?
If something looks wrong, go back and adjust. The A7 IV allows you to overwrite any Picture Profile. If PP8 is not working for your workflow, change it. There is no penalty for customization. The only penalty is shooting an entire event with a broken profile and realizing it in post.
One final note on the technical side. When you are in the Picture Profile menu, you can also adjust the Gamma and Color Mode independently of the preset. This means you can start with PP1 (Movie gamma) and swap the gamma to S-Log3 while keeping the rest of PP1’s settings. This is how you build custom profiles. The presets are starting points, not prisons.
The A7 IV gives you 11 Picture Profiles. Most shooters use two or three. The key is knowing which one to reach for before you press record. That decision – made in the pre-flight phase, not in post – is what separates usable footage from a color grading nightmare.
Tags: Sony A7 IV picture profiles, S-Log3 settings Sony A7IV, S-Cinetone vs S-Log3, Sony A7IV color grading setup, how to set picture profiles on Sony A7 IV, PP8 vs PP9 Sony, Sony A7IV video settings, best picture profile for Sony A7IV, Sony A7IV cinematic settings, S-Gamut3.Cine setup, Sony A7IV beginner video guide, picture profile customization Sony, Sony A7IV knee settings, Sony A7IV skin tone settings, Sony A7IV gamma curves explained