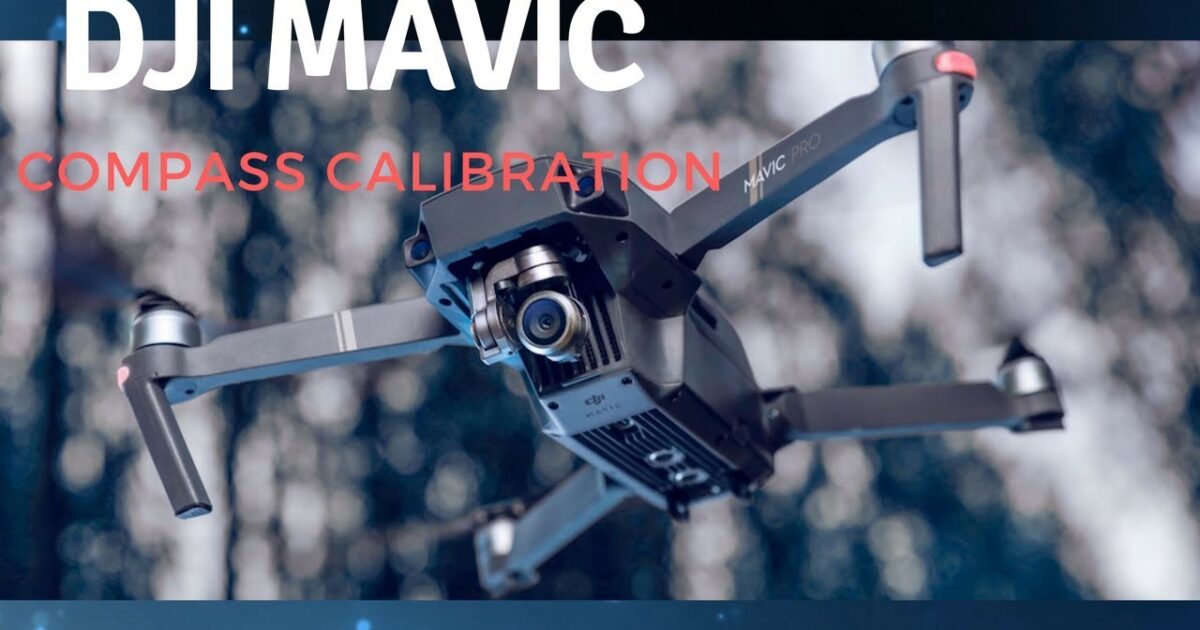
The Complete Configuration Blueprint for DJI Mavic 2 Pro / How to CALIBRATE Your COMPASS! (Tutorial)
 androfyi
August 20, 2026
4 min read
75 views
androfyi
August 20, 2026
4 min read
75 views
Most pilots treat the DJI Mavic 2 Pro like a point-and-shoot camera that happens to fly, completely ignoring the invisible forces that actually keep it stable in the air. The hidden performance ceiling on this drone isn’t found in the Hasselblad sensor or the obstacle avoidance systems – it’s buried in the magnetometers. When your compass is miscalibrated, you’re fighting the flight controller, leaving precise hovering and true cinematic stability on the table. Let’s fix that.
What Needs Changing First
- Spatial Awareness: Ditch the concrete pad. Asphalt and concrete are frequently laced with rebar, creating massive magnetic interference. Our team always takes the Mavic 2 Pro to a grassy or dirt patch to avoid baking structural steel into the calibration data.
- Personal Effects: Strip off your metal. Watches, rings, and even steel-toed boots introduce localized magnetic deviation. Remove them before you even power on the remote.
- Accessory Parity: Calibrate with your full loadout. If you attach a GPS tracker or thicker landing gear, the magnetic profile of the aircraft shifts. Power up with all third-party accessories already attached.
- Threshold Check: Ensure your battery is above 50%. A voltage drop during the calibration sequence can corrupt the sensor data and skew your results before you ever leave the ground.
Phase One Execution
Navigate to the flight interface in DJI GO 4. Tap the green “Ready to Go” status bar at the top of the screen. Scroll down to the fourth item – Compass – and hit “Calibrate.” Press Start. The rear LEDs will turn solid yellow, signaling the horizontal phase. Hold the Mavic flat, belly facing the ground. Do not rotate your body around the drone; keep the aircraft stationary and walk around it in a full 360-degree counterclockwise rotation. Smooth and steady is the only acceptable pace. Watch the rear LEDs; when they turn solid green, shift to the vertical phase. Tilt the Mavic on its side with the camera facing down, and rotate it 360 degrees until the rear lights blink green. Calibration complete.
Step 2: Hidden Parameter Adjustments
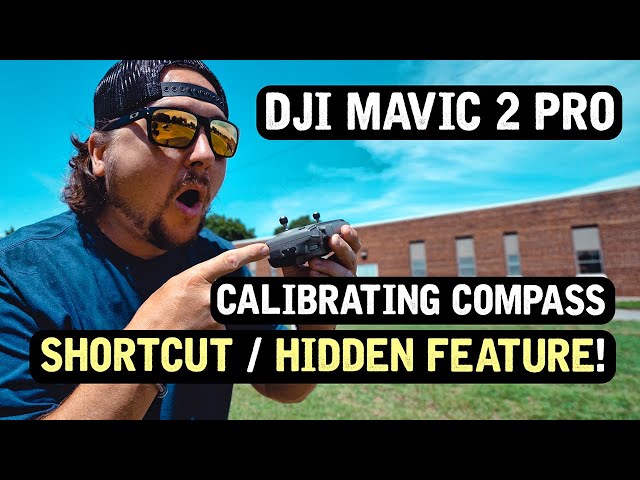
The app UI is straightforward, but the controller hides a secret shortcut most PR fluff misses. If you don’t want to tap through menus, rapidly shift the flight mode switch back and forth between Sport and Tripod modes five times. This forces the DJI GO 4 app directly into the compass calibration screen. Furthermore, pay close attention to the rear LED status during the process. If you see a flashing red, abort immediately – you are standing on a magnetic mine. Move to a new location and restart the entire power cycle before trying again.
Step 3: Advanced Automation Rules
Don’t calibrate blindly. The flight controller needs to differentiate the Earth’s magnetic field from the drone’s own electromagnetic noise. This only works if you rotate the aircraft smoothly; jerky movements introduce data gaps. The app requires at least a full 360-degree rotation, but I recommend going slightly past 360 to ensure complete data capture. Once the app confirms success, the drone’s flight geometry is reset, compensating for magnetic inclination and deviation that would otherwise cause the Mavic to swirl out of control mid-flight.
What Most Guides Tell You To Ignore (But Shouldn’t)
Tags: DJI Mavic 2 Pro compass calibration, DJI GO 4 compass error fix, how to calibrate drone magnetometer, Mavic 2 Pro hovering issues, drone compass interference, DJI Mavic 2 Pro tutorial, drone flight controller calibration, Mavic 2 Pro advanced settings, calibrate compass on grass, DJI Mavic 2 Pro tips and tricks, drone magnetic deviation, Mavic 2 Pro sensor state, DJI compass calibration LED status, Mavic 2 Pro real world tuning, drone GPS compass sync.